
Sheathing and House Wrap: Framing the Building Envelope
How wall and roof sheathing and house wrap work together: OSB vs plywood, nailing patterns, bracing, weather-resistive barriers, taping, and keeping water out of the wall.
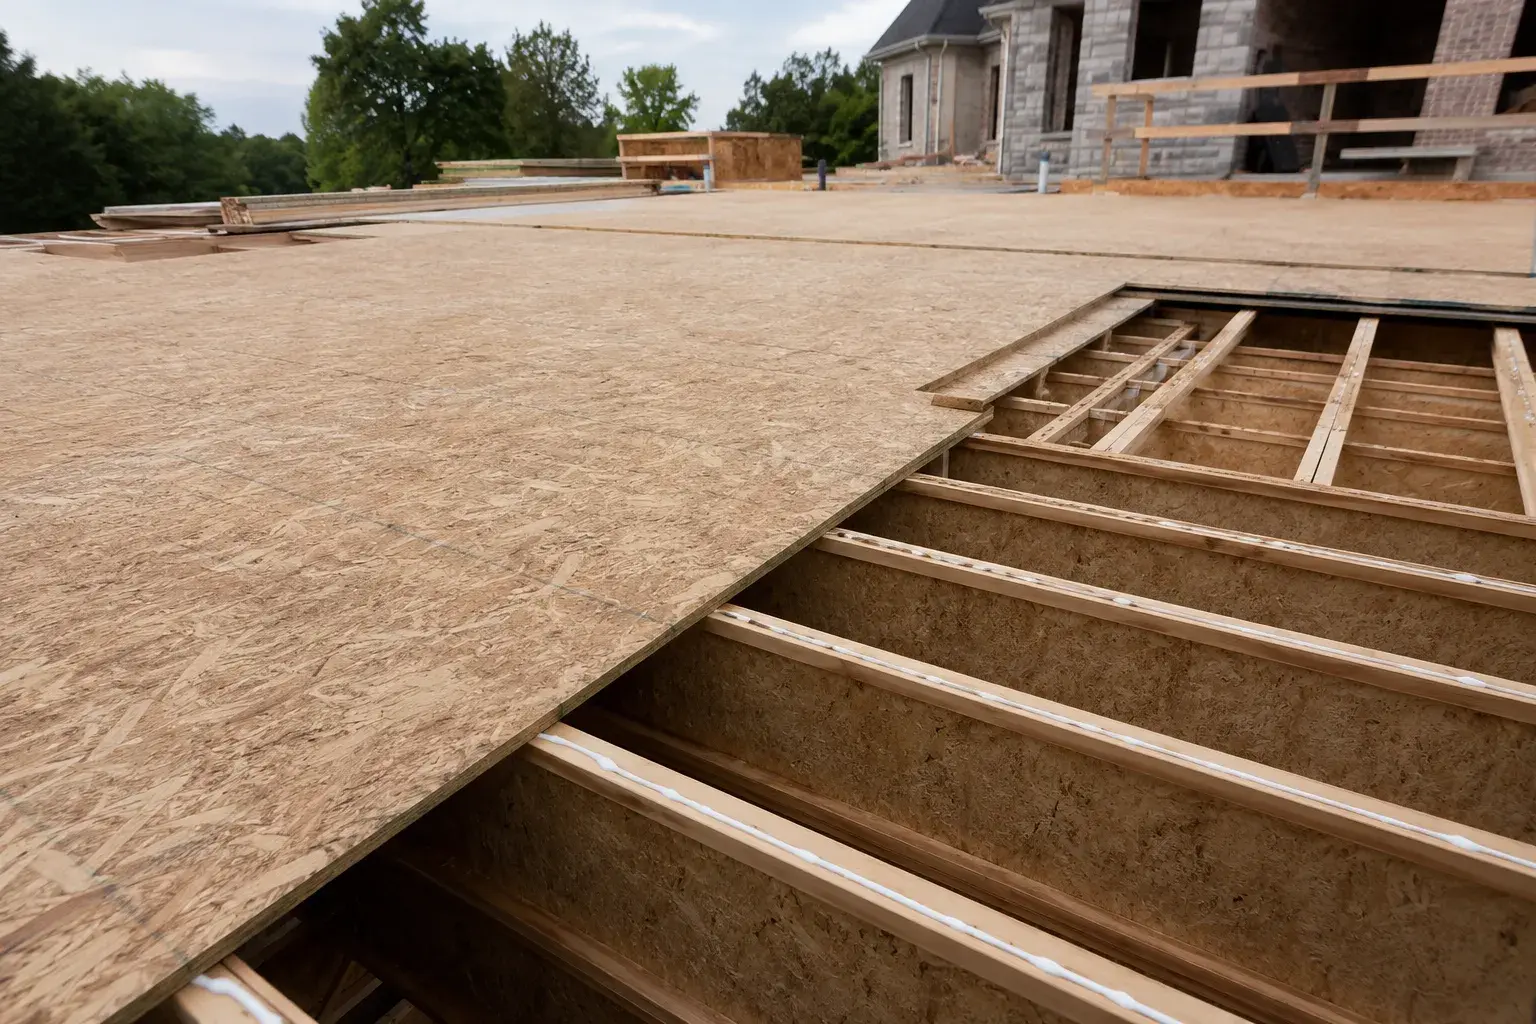
Sheathing is the structural skin nailed over your studs, joists, and rafters. It braces the frame against racking and wind, ties the whole structure together, and gives siding, roofing, and cladding something solid to fasten to. House wrap is the weather-resistive barrier layered over that sheathing to shed bulk water while still letting the wall dry. Get both right and the building envelope stays dry, stiff, and code-compliant for decades.
At Timberr Framing we are a licensed, insured, WSIB-covered framing contractor serving the GTA and Golden Horseshoe, and sheathing plus wrap is where a lot of framing quality quietly gets won or lost. Here is how the two systems work together and where crews go wrong.
What Sheathing Is and Its Structural Role
Sheathing is a continuous panel material, usually 4x8 sheets of OSB or plywood, fastened across the framing members. It does far more than close in the shell:
- It provides shear bracing. Nailed properly, sheathed walls resist racking from wind and seismic loads so the structure does not lean or rack out of square.
- It distributes point loads and stiffens the frame, tying studs, plates, and rim joists into one working diaphragm.
- It creates the nailing base for siding, brick ties, roofing, and trim.
- On roofs and floors, it becomes the diaphragm that carries lateral loads back to the shear walls.
Under the Ontario Building Code, wall bracing is not optional. Full panel sheathing is the most common way to meet the bracing provisions in Part 9 construction, which is why you rarely see let-in bracing on modern GTA builds. When we frame a project, from a custom home to a garage, the sheathing schedule is part of the structural design, not an afterthought. This is a core part of good custom home framing and any structural home addition framing.
OSB vs Plywood
Both OSB (oriented strand board) and plywood are approved sheathing materials, and both perform well when installed and detailed correctly. The choice usually comes down to cost, availability, and how the panel handles moisture during construction.
| Factor | OSB | Plywood |
|---|---|---|
| Cost | Lower, most common on GTA builds | Higher, 10 to 20 percent more |
| Strength and stiffness | Consistent, engineered from strands | Slightly stiffer per unit weight |
| Weight | Heavier per sheet | Lighter |
| Moisture behaviour | Swells at cut edges, dries slower | Dries faster, more forgiving if wetted |
| Fastener holding | Excellent | Excellent |
| Availability | Widely stocked | Sometimes special order |
| Typical use | Walls, roofs, floors | Roofs, wet-prone areas, exposed soffits |
Our practical take: OSB is fine for most walls and roofs when the build is kept reasonably dry and closed in on schedule. Where a panel may sit exposed to weather for a while, or in areas prone to repeated wetting, plywood earns its premium because it sheds water and dries better. Panel thickness and grade follow the OBC span tables and the truss or rafter spacing, so we spec to the engineering, not habit.
Nailing Patterns and Edge Support
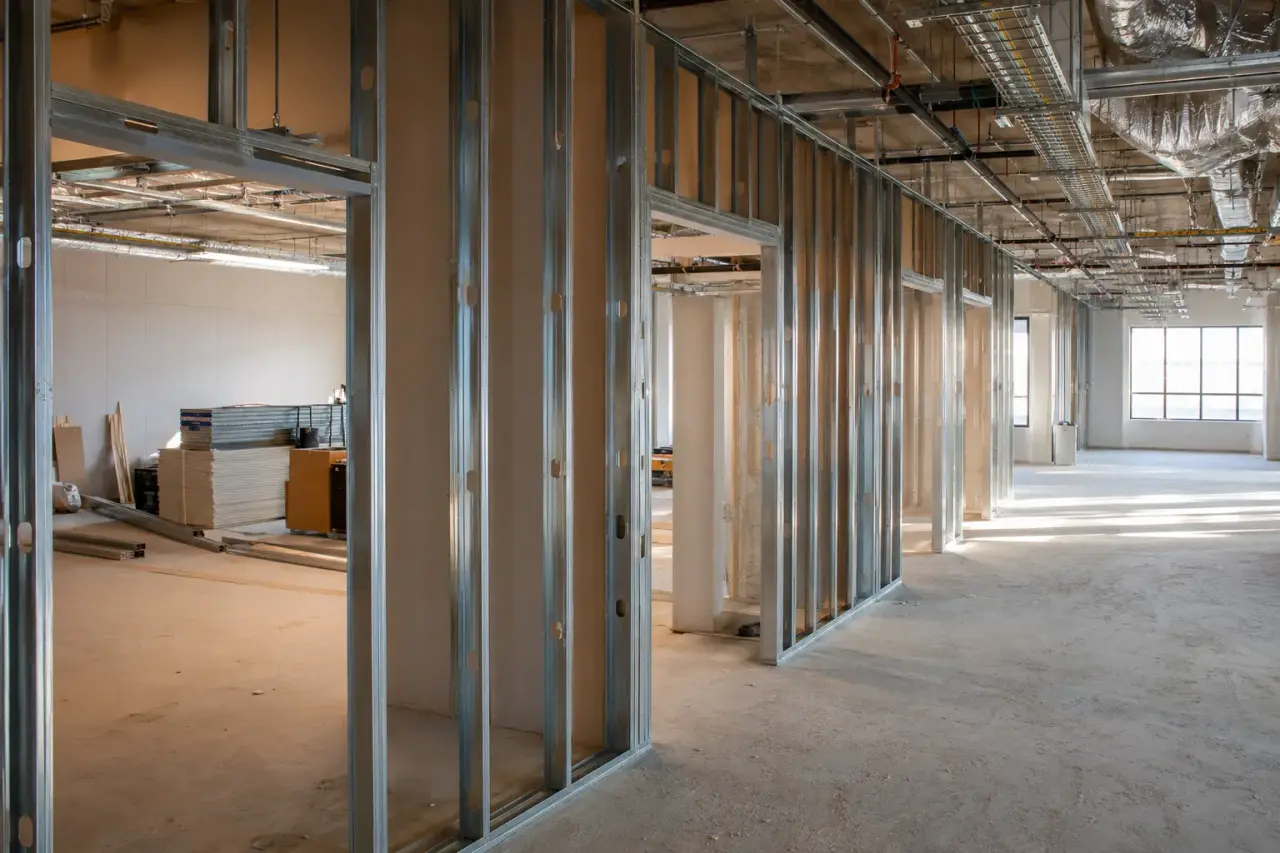
A sheathing panel is only as strong as its fastening. The nailing schedule is what turns loose sheets into a shear wall or a roof diaphragm. General practice on Part 9 work:
- Edge nailing every 150 mm (6 inches) around the perimeter of each panel.
- Field nailing every 300 mm (12 inches) into intermediate framing.
- Fasteners set roughly 10 mm in from panel edges so nails do not blow out the edge.
- Nails driven flush, never overdriven through the face, which cuts holding power and shear value.
- Panel gaps of about 3 mm at edges and ends to allow for expansion and prevent buckling.
Edge support matters as much as the nailing. Every panel edge should land on framing or be backed by blocking. Unsupported edges flex, telegraph through siding, and lose their bracing value. On engineered shear walls the drawings will call out a tighter nailing pattern, sometimes 100 mm or even 75 mm on edges, and blocking at all panel joints. We follow the stamped schedule exactly, because inspectors check it and it is what makes the wall perform.
Roof Sheathing
Roof sheathing follows the same logic with a few extra considerations. Panels run perpendicular to the trusses or rafters with end joints staggered and centred over framing. Key points:
- H-clips (panel edge clips) between trusses where the OBC or panel span rating requires them, to support the unblocked edge and control deflection.
- The same 6 inch edge and 12 inch field nailing as walls, with roofing nails or ring-shank as specified.
- A small expansion gap at panel edges so the deck does not buckle in summer heat.
- Proper ventilation baffles at the eaves so insulation does not choke off the airflow that keeps the deck dry.
The roof deck is a diaphragm. It carries wind and lateral loads across to the walls, so sloppy roof nailing weakens the whole structure, not just the roof. On re-roofs and structural changes during renovation framing we check the existing deck condition and re-nail or replace where it has delaminated or lost bite.
The Weather-Resistive Barrier and Why House Wrap Matters
Sheathing is not waterproof. OSB and plywood will absorb water, swell, and eventually rot if they stay wet. That is why the Ontario Building Code requires a weather-resistive barrier, the WRB, over the sheathing before cladding goes on. House wrap is the most common WRB.
House wrap does two jobs at once:
- It sheds bulk water. Any rain that gets past the siding drains down the face of the wrap and out at the bottom instead of soaking into the sheathing.
- It lets vapour escape. Modern wraps are vapour-permeable, so moisture that gets into the wall assembly can dry outward rather than getting trapped.
It also cuts air leakage, which improves comfort and energy performance. The key detail people miss: house wrap is a drainage plane, not a waterproof membrane. It works by shingling water downward and out, so the way it laps and integrates with everything else is what actually keeps the wall dry.
Install rules we hold to:
- Roll horizontally, starting at the bottom, with upper courses lapping over lower courses like shingles, typically 150 mm side laps and 150 mm horizontal laps.
- Fasten with cap nails or cap staples so the wrap does not tear off in wind and the fastener holes stay sealed.
- Keep it tight and flat, with no fishmouths or wrinkles that trap water.
Taping and Flashing Integration With Windows
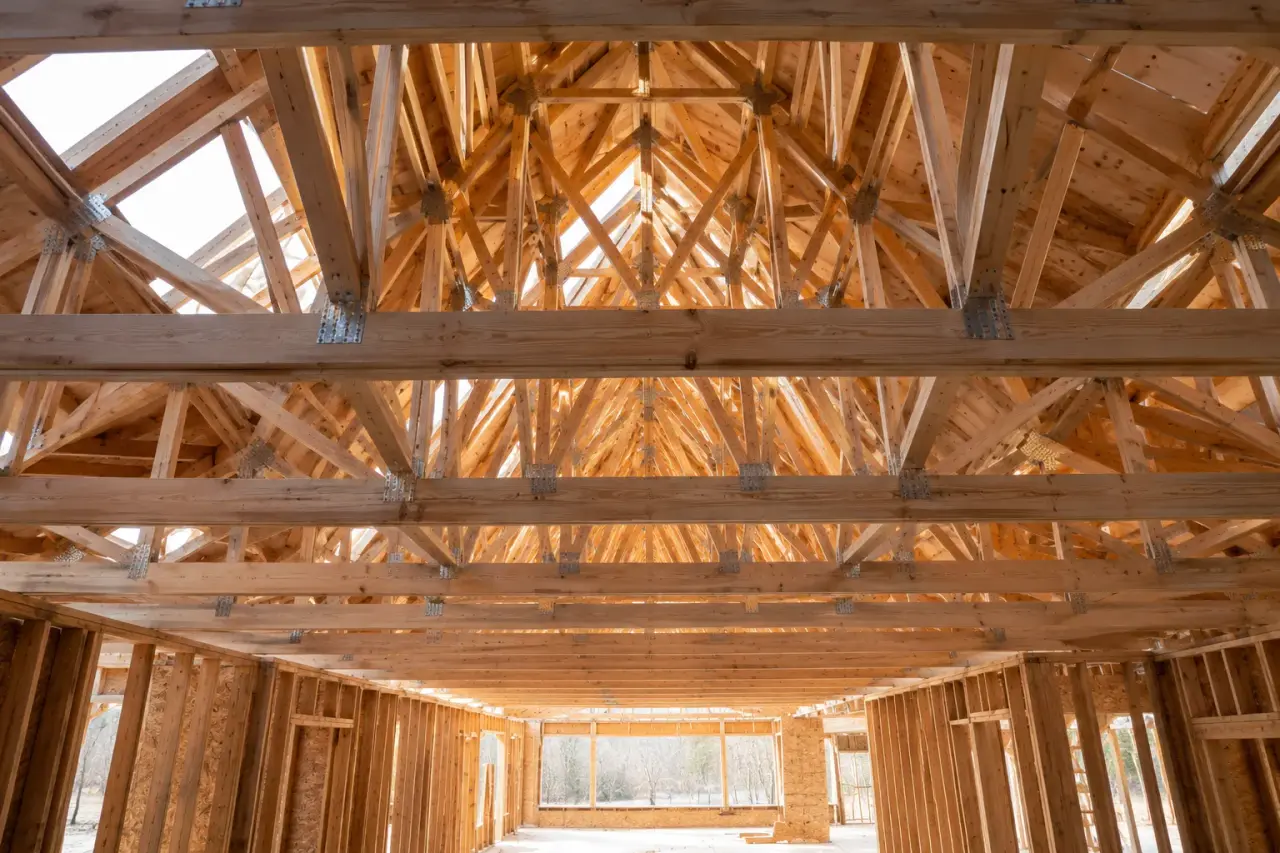
Windows and doors are the biggest leak risk in any wall, and they are where the wrap, tape, and flashing all have to work as one system. Water always wins if the layering is wrong. The correct sequence at a window rough opening:
- Flash the sill first, with a sill pan or self-adhered flashing that laps out over the wrap below the opening.
- Set the window and seal per the manufacturer instructions.
- Flash the jambs next, lapping over the sill flashing.
- Flash the head last, and critically, tuck the head flashing under the house wrap above so water sheds over the top of the window, not behind it.
- Tape all wrap seams and penetrations with a compatible sheathing tape rated for the wrap.
The governing rule is simple: every upper layer laps over the layer below, so water is always directed outward and downward. Reverse-lapping the head flashing over the wrap instead of under it is one of the most common and most damaging mistakes in residential construction. We flash openings before cladding and document them, which also helps at framing permits and inspections.
Common Moisture Mistakes
Most envelope failures are not exotic. They come from a handful of avoidable errors:
- Reverse-lapped house wrap, where upper courses tuck behind lower ones and funnel water into the wall.
- Head flashing installed over the wrap instead of under it.
- Untaped or poorly taped seams and penetrations that let wind-driven rain in.
- Overdriven or missing sheathing nails, which weakens bracing and lets panels move.
- Sheathing left exposed to weeks of rain before dry-in, so OSB edges swell before the wrap even goes on.
- No drainage gap behind cladding that needs one, trapping water against the wrap.
- Skipping the sill pan under windows, the single most common source of hidden rot.
A dry, well-braced envelope is the difference between a house that lasts and one that quietly rots behind the siding. A careful framing contractor treats sheathing and wrap as one connected system rather than two separate tasks.
Frequently Asked Questions
Is OSB or plywood better for sheathing? Both meet the Ontario Building Code and both perform well when installed and detailed correctly. OSB is cheaper and more common on GTA builds and is fine when the structure is kept reasonably dry and closed in on schedule. Plywood costs more but dries faster, so it is the safer choice for panels that may sit exposed or in repeatedly wet areas.
Does house wrap make a wall waterproof? No. House wrap is a weather-resistive barrier and drainage plane, not a waterproof membrane. It sheds bulk water down and out while still letting the wall dry to the outside. It only works when it is lapped shingle-style and integrated correctly with window and door flashing.
What is the correct nailing pattern for wall sheathing? General Part 9 practice is 150 mm (6 inch) spacing around panel edges and 300 mm (12 inch) in the field, with nails flush and set in from the edge. Engineered shear walls often call for tighter edge nailing and blocking at all joints, and we follow the stamped schedule exactly.
Why does the head flashing go under the house wrap? So water sheds over the top of the window instead of behind it. Every upper layer must lap over the layer below. If the head flashing sits on top of the wrap, wind-driven rain runs behind the window and into the wall, which is one of the most common causes of hidden moisture damage.
Building or renovating in the GTA or Golden Horseshoe and want the envelope framed right the first time? Timberr Framing is a licensed, insured, WSIB-covered framing contractor that treats sheathing, bracing, and weather barriers as one connected system built to the Ontario Building Code. Get in touch through our contact page and we will scope your project and give you a straight answer.