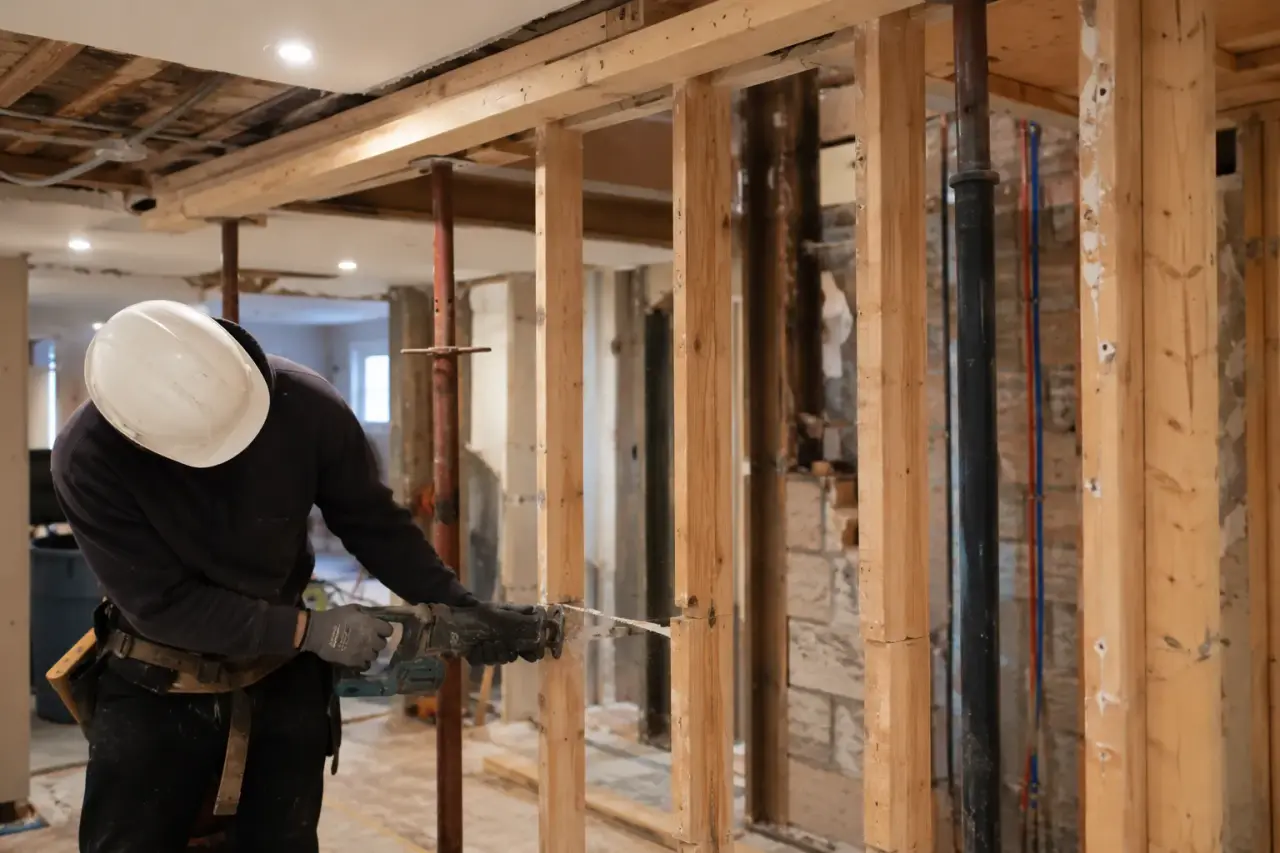
Structural Beam Installation: LVL, Steel Beams, and Support Posts
How structural beams are sized, chosen, and installed in Ontario renovations, LVL vs steel vs built-up, support posts, point loads, and when you need an engineer.
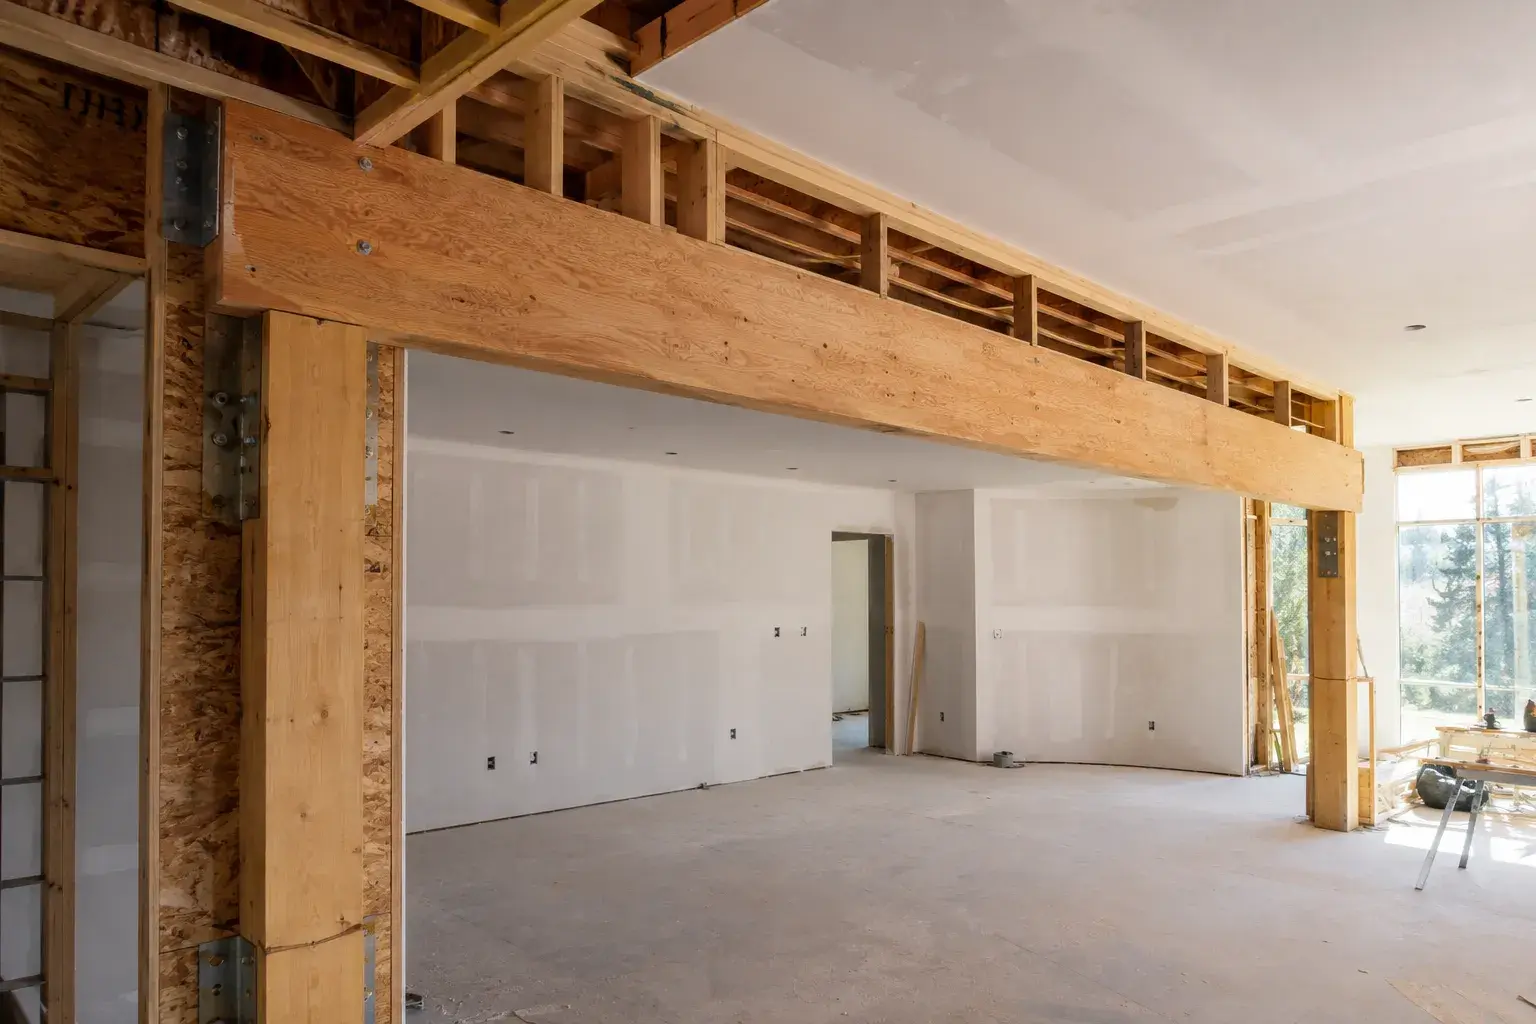
A structural beam is installed by first shoring the load with temporary posts, then setting a correctly sized beam (LVL, steel, or built-up lumber) into a pocket or hanger so it carries the point loads from above and transfers them down through posts to footings that reach solid bearing. The beam size comes from an engineer or span table based on the span and the tributary load it collects, and in Ontario most beam work that removes a load-bearing wall needs a building permit and, in many cases, a stamped drawing from a professional engineer (P.Eng).
Get any of those steps wrong, the span, the load path, the bearing, and you get bouncing floors, cracked drywall, or worse. Here is how the trade actually approaches it.
What a Structural Beam Actually Does
A beam catches load from above and moves it sideways to a new set of bearing points, usually so you can take out a wall and open up a space. The load does not disappear. It follows a load path: floor joists and roof loads bear on the beam, the beam bears on posts at each end, and those posts carry everything straight down through the framing to the foundation and footing.
The critical idea is that the load path has to be continuous all the way to solid ground. A beam post that lands on a floor with nothing underneath it just moves the problem down a level. When we do renovation framing that opens up a main floor, we trace that path from the beam down to the footing before we cut anything.
Key concepts that drive every beam job:
- Point loads: concentrated loads that land at a single spot, like the end of a beam or a post. These need a direct path to bearing, often a new post and pad footing.
- Tributary width: the area of floor or roof that “drains” its load onto the beam. A beam catching two floors and a roof carries far more than one catching a single floor.
- Bearing: the beam ends need enough length sitting on the post or wall to spread the load. Steel and LVL both have minimum bearing lengths.
LVL vs Steel Beam vs Built-Up Lumber
Three materials cover almost every residential beam. The right choice depends on span, headroom, load, and budget.
| Beam type | Typical use | Practical span | Relative cost | Weight / handling |
|---|---|---|---|---|
| Built-up dimensional lumber (2-ply or 3-ply 2x10, 2x12) | Short spans, light loads, basement beams | Up to roughly 3 to 4 m | Lowest | Light, one or two people, no crane |
| LVL (laminated veneer lumber) | Most main-floor wall removals, longer spans | Roughly 3 to 7 m depending on plies and depth | Moderate | Moderate, multi-ply gets heavy but still hand-set |
| Steel W-beam (wide flange) | Long spans, heavy point loads, tight headroom | 6 m and beyond | Highest | Heavy, often needs extra hands or a lift |
A few honest notes:
- Built-up lumber is cheapest and simplest, but it deflects more over long spans and each ply has to be fastened together to a nailing schedule so the plies share the load.
- LVL is the workhorse. It is straight, strong, and predictable, and a multi-ply LVL solves most open-concept jobs. It counts as engineered lumber, so allowable spans come from the manufacturer’s tables, not generic lumber charts.
- Steel wins when you need a long clear span or the shallowest possible beam to keep ceiling height. It carries more in less depth, but it is heavy, it needs proper bearing plates, and connections usually require an engineer.
Depth matters as much as material. A deeper beam is stiffer and spans farther. When headroom is tight, steel gets you the same strength in a shallower profile than LVL or lumber.
Why Span and Tributary Load Drive the Size
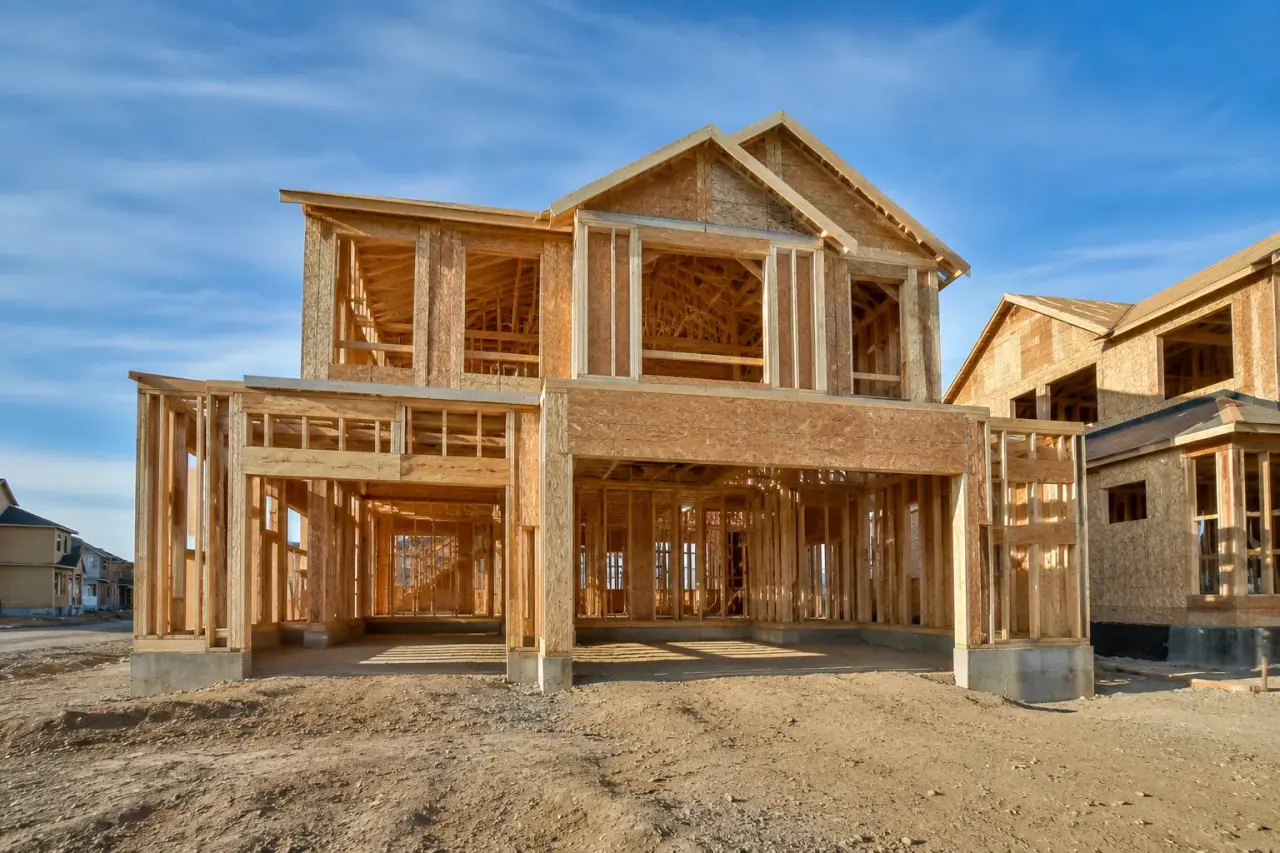
Two numbers decide the beam: how far it spans and how much load it collects. Double the span and the bending force goes up sharply, so a beam that is fine at 3 m may be badly undersized at 5 m. Add a second storey or a roof to the tributary area and the load can double.
That is why you cannot eyeball a beam or copy the neighbour’s. The right size comes from either the manufacturer’s span tables for the exact product or, more often on real jobs, an engineer’s calculation that accounts for the actual loads, deflection limits, and connections. Deflection, how much the beam sags under load, is often the governing limit, not strength. A beam can be “strong enough” and still bounce enough to crack finishes.
Support Posts, Columns, and Getting Down to a Footing
The beam is only half the job. Each end lands on a post or column, and that post has to carry its share of the load straight down to bearing.
- Posts are typically built-up lumber, a steel column (often a 3 or 3.5 inch adjustable or fixed steel post), or a solid engineered post.
- Squash blocks or solid blocking carry the load through floor systems so the point load does not crush an I-joist or land on empty subfloor.
- Pad footings under a new basement post are often larger than a standard footing, commonly a thickened concrete pad sized for the point load. An engineer specifies the pad size based on the load and soil bearing.
If a new post lands mid-span on an existing footing that was never sized for it, that footing may need to be enlarged. This is one of the most common things missed on DIY beam jobs.
Temporary Shoring During the Install
Before the old wall or support comes out, the load has to be held somewhere else. Temporary shoring, usually adjustable steel posts (jack posts) under a strongback or temporary beam, picks up the floor above so you can work safely.
- Shore on both sides of the wall you are removing, not just one.
- Land the shoring posts on something solid, a footing, a beam, or load-spreading plates, never on unsupported subfloor.
- Keep the temporary posts in place until the new beam is fully seated, bearing, and fastened.
Rushing or under-shoring this step is how ceilings sag and drywall cracks appear before the new beam is even in.
When You Need a Permit and a P.Eng Stamp in Ontario
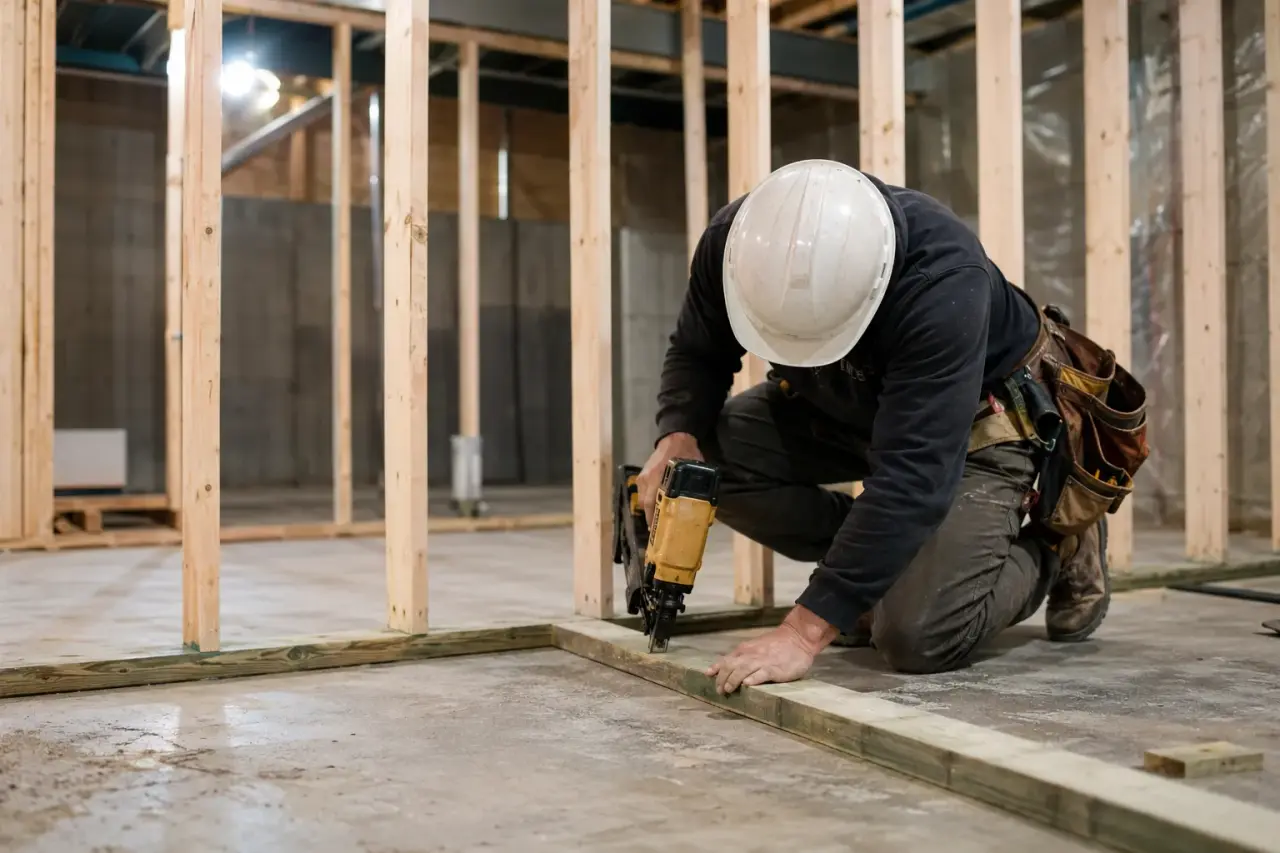
In Ontario, removing or altering a load-bearing wall or installing a structural beam is structural work that almost always requires a building permit from your municipality. Permit drawings for beam work commonly need to be prepared or reviewed by a professional engineer (P.Eng), especially for steel beams, long spans, heavy point loads, or anything the plans examiner flags.
Timberr Framing builds to the Ontario Building Code, and our honest guidance is simple: if you are removing a wall that carries load, budget for a permit and an engineer’s involvement. It protects the house and it protects you at resale. Our load-bearing wall removal guide walks through how to tell if a wall is bearing in the first place. When in doubt, get a structural engineer to assess it before anyone swings a hammer.
The Install Sequence, Step by Step
- Confirm the wall is load-bearing and get an engineered beam and post design plus a permit.
- Locate the new posts and bearing points and confirm the load path continues to a footing. Upgrade footings or add pads where needed.
- Set temporary shoring on both sides of the wall and transfer the load off the existing wall.
- Remove the existing wall or support once the floor above is fully held.
- Cut the beam pockets or set the posts and prep bearing surfaces (bearing plates for steel).
- Lift and seat the beam into the pockets or onto the posts, checking it is level and has full bearing.
- Install and fasten the posts, squash blocks, and connections per the drawings and fastening schedule.
- Release the shoring gradually and let the beam take the load. Watch for movement.
- Inspection and sign-off by the municipal building inspector before you close anything up.
Frame around the new beam only after it has taken the load and passed inspection. If you are furring out or building non-structural partitions around it, metal stud framing is a clean way to finish the surrounding walls.
Common Mistakes We See
- Undersized beam or wrong material because someone skipped the engineering and guessed.
- No continuous load path, a post that lands on a floor with nothing underneath it.
- Footing never upgraded for a new concentrated point load in the basement.
- Too little bearing at the beam ends, so the load is crushing a small area.
- Under-shoring during the install, causing sag and cracked finishes before the beam is even set.
- No permit, which becomes an expensive problem at resale or insurance time.
Frequently Asked Questions
Do I always need an engineer for a beam? Not for every case, some short-span, light-load beams can be sized from span tables, but most load-bearing wall removals in Ontario involve a permit and an engineer’s design. Steel beams, long spans, and heavy point loads almost always need a P.Eng stamp. When in doubt, get one.
LVL or steel, which is better? Neither is universally better. LVL handles most main-floor wall removals at a lower cost and is easier to install, while steel is the choice for long clear spans or when you need the shallowest beam to keep ceiling height. The engineered design tells you which the loads actually call for.
Can a beam go flush with the ceiling instead of dropping below it? Yes, a flush beam sits within the floor depth so the ceiling stays flat, but it needs joist hangers and usually a deeper or steel section to fit the available depth. A dropped beam hangs below the ceiling and is often cheaper and simpler. The engineer confirms what fits the loads and headroom.
How long does a beam install take? A straightforward single-beam wall removal is often a couple of days of framing work once the permit and engineered drawings are in hand, plus inspection time. Steel beams, footing upgrades, or multi-storey load paths add time. The design and permit stage usually takes longer than the physical install.
Ready to Open Up Your Space?
Beam work is where a renovation lives or dies, and it is not the place to guess. Timberr Framing is a licensed, insured, WSIB-covered framing contractor serving the GTA and Golden Horseshoe, and we build every beam and load path to the Ontario Building Code, with the permit and engineering done properly. If you are planning a wall removal or a new structural beam, contact us and we will walk the load path with you before anything gets cut.