
Wall Framing Basics: Studs, Plates, Headers, and Layout
The fundamentals of wall framing: stud spacing, top and bottom plates, headers, corners and channels, layout and squaring, and the difference between load-bearing and partition walls.
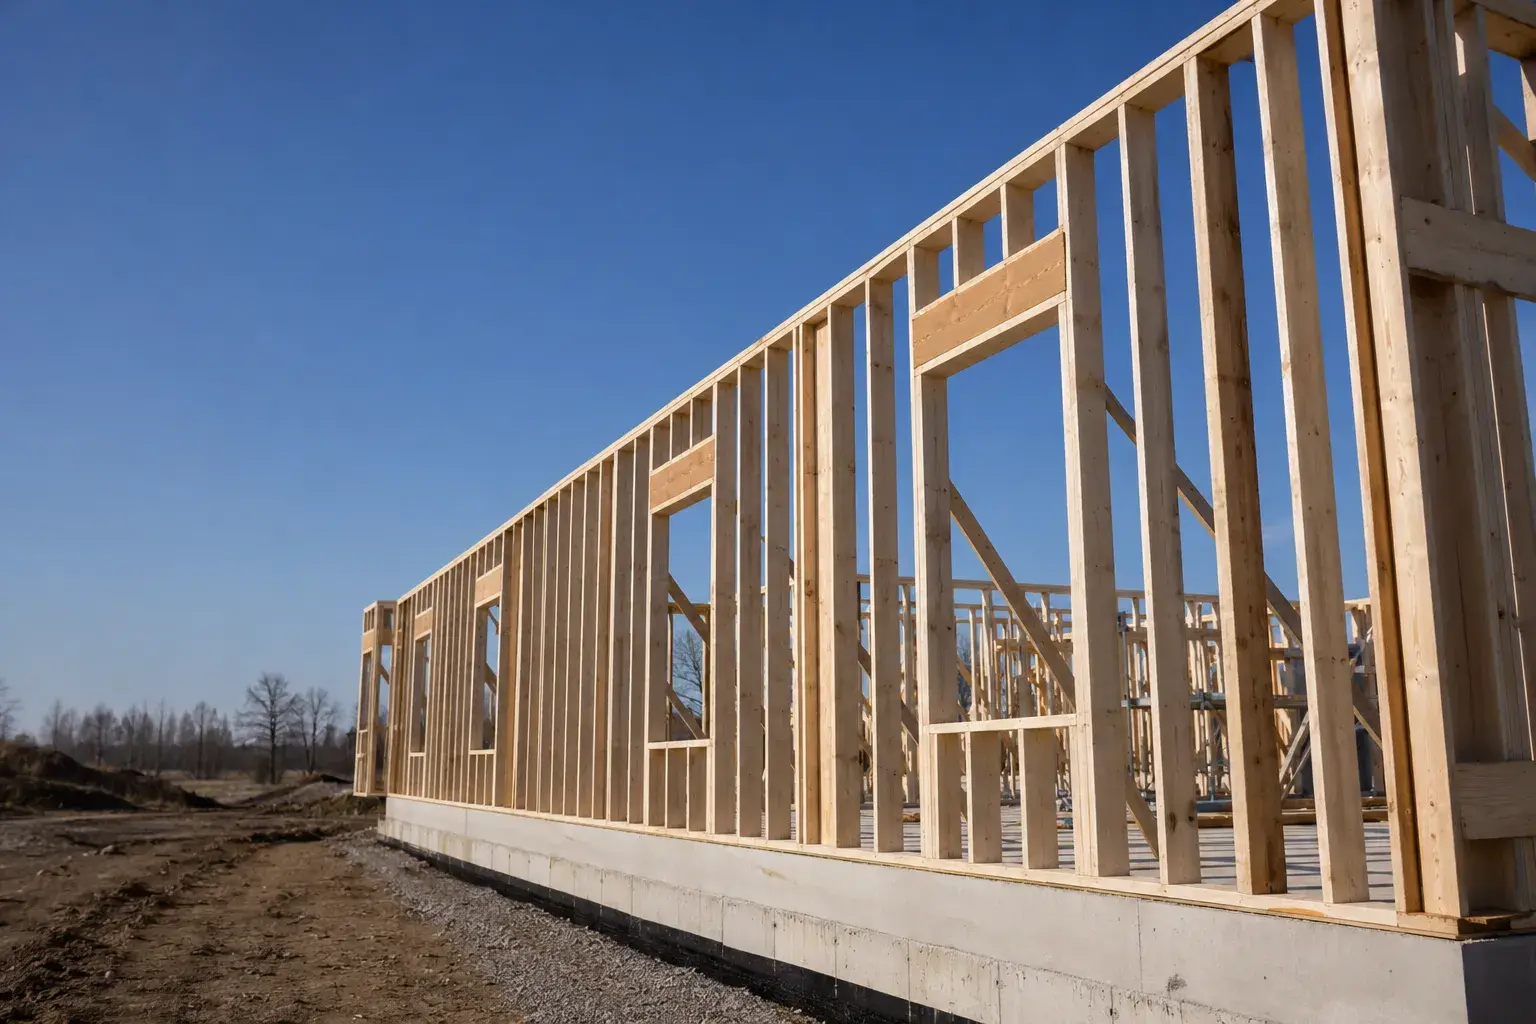
A wood-framed wall is built flat on the deck as a repeating grid: a bottom plate and top plate hold the ends of vertical studs spaced at a fixed interval, with headers built into any door or window opening to carry the load around it. You mark the plate layout first, nail the frame together, then stand it, plumb it, brace it, and tie it into the walls beside it. Get the layout and the squaring right and everything downstream, drywall, cabinets, trim, goes on cleanly.
This guide walks through every part of a framed wall, the spacing rules an Ontario framer works to, and the mistakes that cost the most to fix later. It reflects how Timberr, a licensed, insured, WSIB-covered framing contractor serving the GTA and Golden Horseshoe, builds walls to the Ontario Building Code (OBC).
The Parts of a Wall
A framed wall is a small kit of standard pieces. Once you know what each one does, the whole assembly makes sense.
- Studs. The vertical members that carry load down to the floor and provide backing for finishes. Standard framing lumber is nominal 2x4 or 2x6, spruce-pine-fir (SPF) in most of Ontario.
- Bottom plate (sole plate). The horizontal member the studs sit on, fastened to the subfloor. On concrete it becomes a pressure-treated sill plate.
- Top plate. The horizontal member on top of the studs. Load-bearing walls get a doubled top plate so the two courses can lap over intersecting walls and tie the framing together.
- Header. The beam over a door or window opening that carries the load that would otherwise pass through the missing studs, redirecting it to the king and jack studs on each side.
- King stud. A full-height stud on each side of an opening, running plate to plate.
- Jack stud (trimmer). A shorter stud nailed to the king stud that supports the ends of the header.
- Cripple studs. Short studs above a header or below a window sill that continue the stud spacing so sheathing and drywall have backing.
- Rough sill. The horizontal member at the bottom of a window opening that the cripples below it support.
Stud Spacing: 16 vs 24 Inch On Center
Spacing is measured “on center” (o.c.), meaning from the center of one stud to the center of the next, so that 4-foot sheet goods land on a stud without cutting. The two standard intervals are 16 inch and 24 inch o.c. Which one you use depends on the wall’s job and the OBC limits for the stud size, height, and load.
| Spacing | Typical use | Notes |
|---|---|---|
| 16 in o.c. | Most exterior and load-bearing walls; standard interior partitions | The default in GTA residential; strong, stiff, easy backing for finishes |
| 24 in o.c. | 2x6 exterior walls, tall walls, some non-bearing partitions | Fewer studs and more insulation cavity, but must meet OBC span/load tables |
| 12 in o.c. | Heavily loaded or very tall walls | Used where the load or height exceeds what 16 in can carry |
For most homes we frame, 16 inch o.c. is the workhorse. It gives solid drywall backing, handles typical loads, and leaves no doubt about finish support. Exterior 2x6 walls are often framed 24 inch o.c. for better insulation, provided the OBC prescriptive tables permit it for the wall height and roof or floor load above. The stud size, unsupported height, and load always drive the decision, never habit.
Plate Layout and Marking
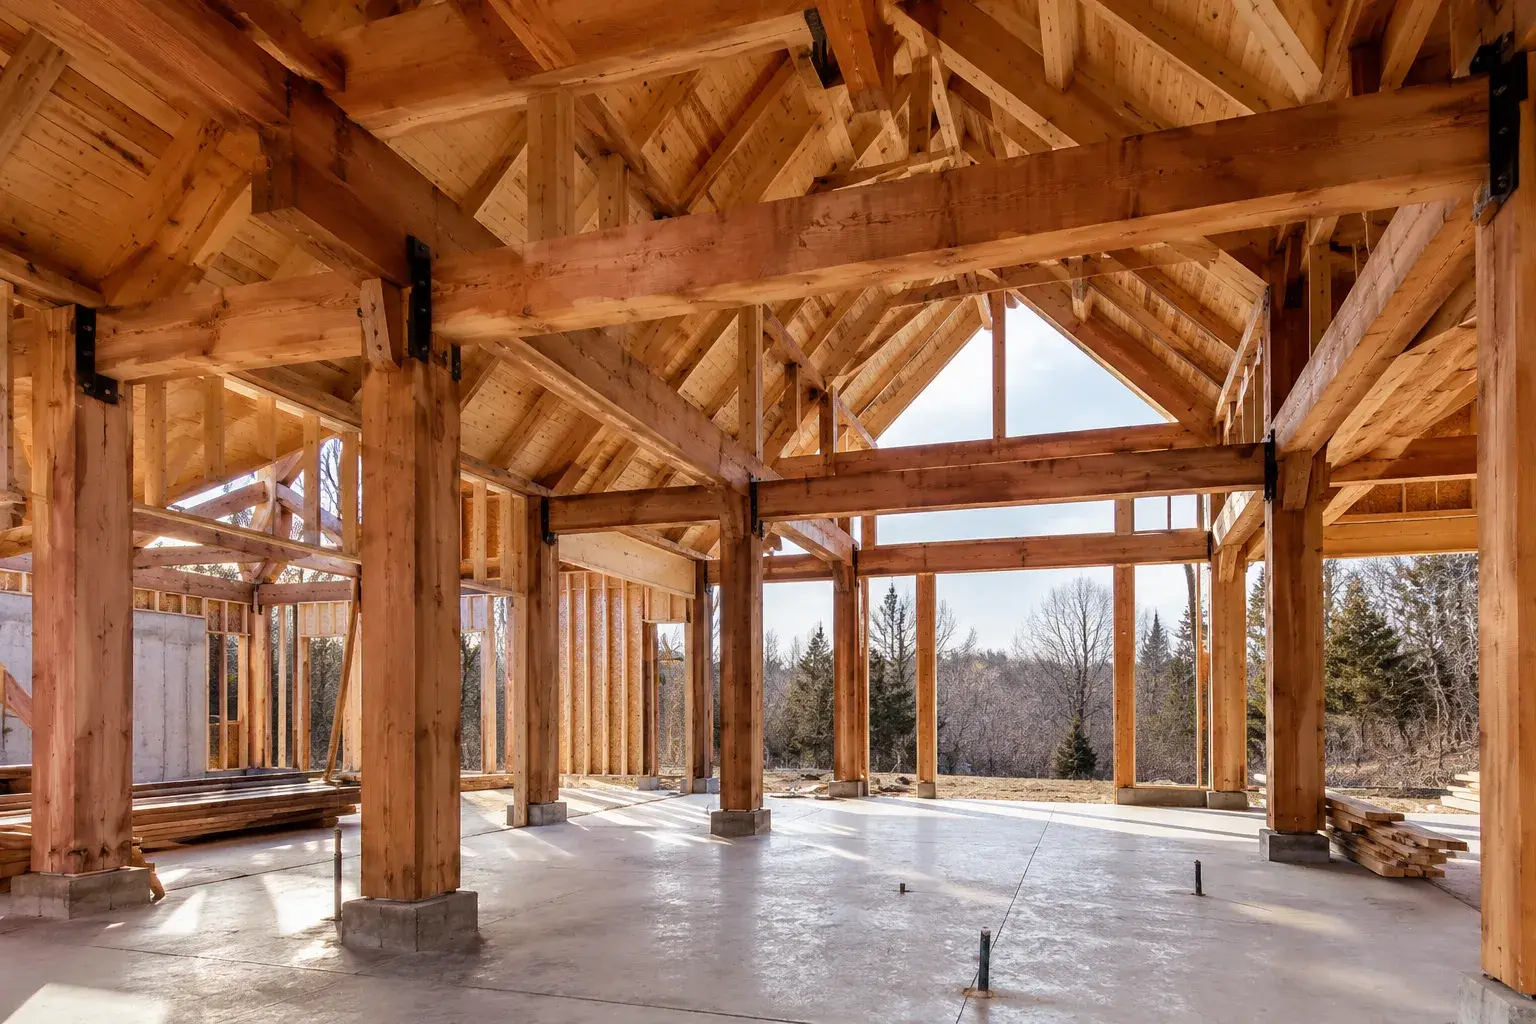
Every accurate wall starts as pencil marks on the plates before a single stud is cut. This is where speed and precision are won.
- Cut the plates to length together. Lay the top and bottom plate side by side so identical marks land on both.
- Pull layout from one end. Hook your tape on the same corner for the whole wall. The first stud sits at the end; the next mark is at 15-1/4 inch, then every 16 inch after, so the leading edge of each stud lands on a 16 inch line and the sheet edge breaks on the stud center.
- Mark an X for the stud and a diamond or “C” for cripples. Consistent symbols stop miscounts.
- Lay out openings. Mark king studs, then jacks inside them, then the rough opening width for each door and window per the manufacturer’s rough-opening dimension.
- Mark intersecting walls and corners so backing and channel studs are placed while the wall is still flat.
Marking both plates at once is the single biggest time-saver in wall framing and the easiest way to keep every stud plumb once the wall stands.
Corners and Partition Intersections (Channels and Backing)
Where two walls meet, the framing has to do two things: give the sheathing or drywall a solid nailing edge in the inside corner, and let the intersecting wall tie in. That backing is often called a channel, a partition post, or a nailer.
- Three-stud corner. The traditional exterior corner: two studs with blocking between and a third turned to face inward, giving a nailing surface on the interior. Solid but uses extra lumber and blocks insulation.
- Two-stud corner with drywall clips. A more insulation-friendly corner; the missing nailer is replaced by clips so the cavity stays open for insulation. Common in energy-conscious exterior framing.
- Partition intersection (T). Where an interior wall meets another wall, add a channel of studs (often two studs with blocking, or a stud plus flat backing) in the through-wall so the partition end can nail off and the inside corners get drywall backing.
The rule is simple: every inside corner and every wall intersection needs backing before the walls stand. Chasing missing nailers after the fact, cutting in blocking overhead, is slow and sloppy, and it shows in the finished corners.
Load-Bearing vs Partition Walls
Not every wall carries weight, and the difference dictates how it is framed and whether it can ever be moved.
Load-bearing walls carry load from the roof, an upper floor, or a beam down to the foundation. They get:
- A doubled top plate, lapped over intersecting walls to tie the structure together.
- Headers sized to the span and load over every opening, per the OBC span tables or an engineer’s spec.
- Solid bearing below, a beam, a post, or a wall lining up underneath.
Partition (non-load-bearing) walls divide space and carry only their own weight plus finishes. They can use a single top plate, lighter or even ladder-blocked headers over openings, and do not need bearing stacked beneath them. Basement and renovation partitions are usually non-bearing, but never assume, if a wall lines up over a beam or an upper wall, treat it as structural until proven otherwise.
Removing or altering a load-bearing wall is a different job entirely and needs a permit and engineering in Ontario. See our load-bearing wall removal guide before touching any wall you are unsure about. Whether you are dividing space in a basement framing project or reworking a main floor as part of renovation framing, knowing which walls carry load is the first thing a competent framer confirms.
Squaring and Straightening
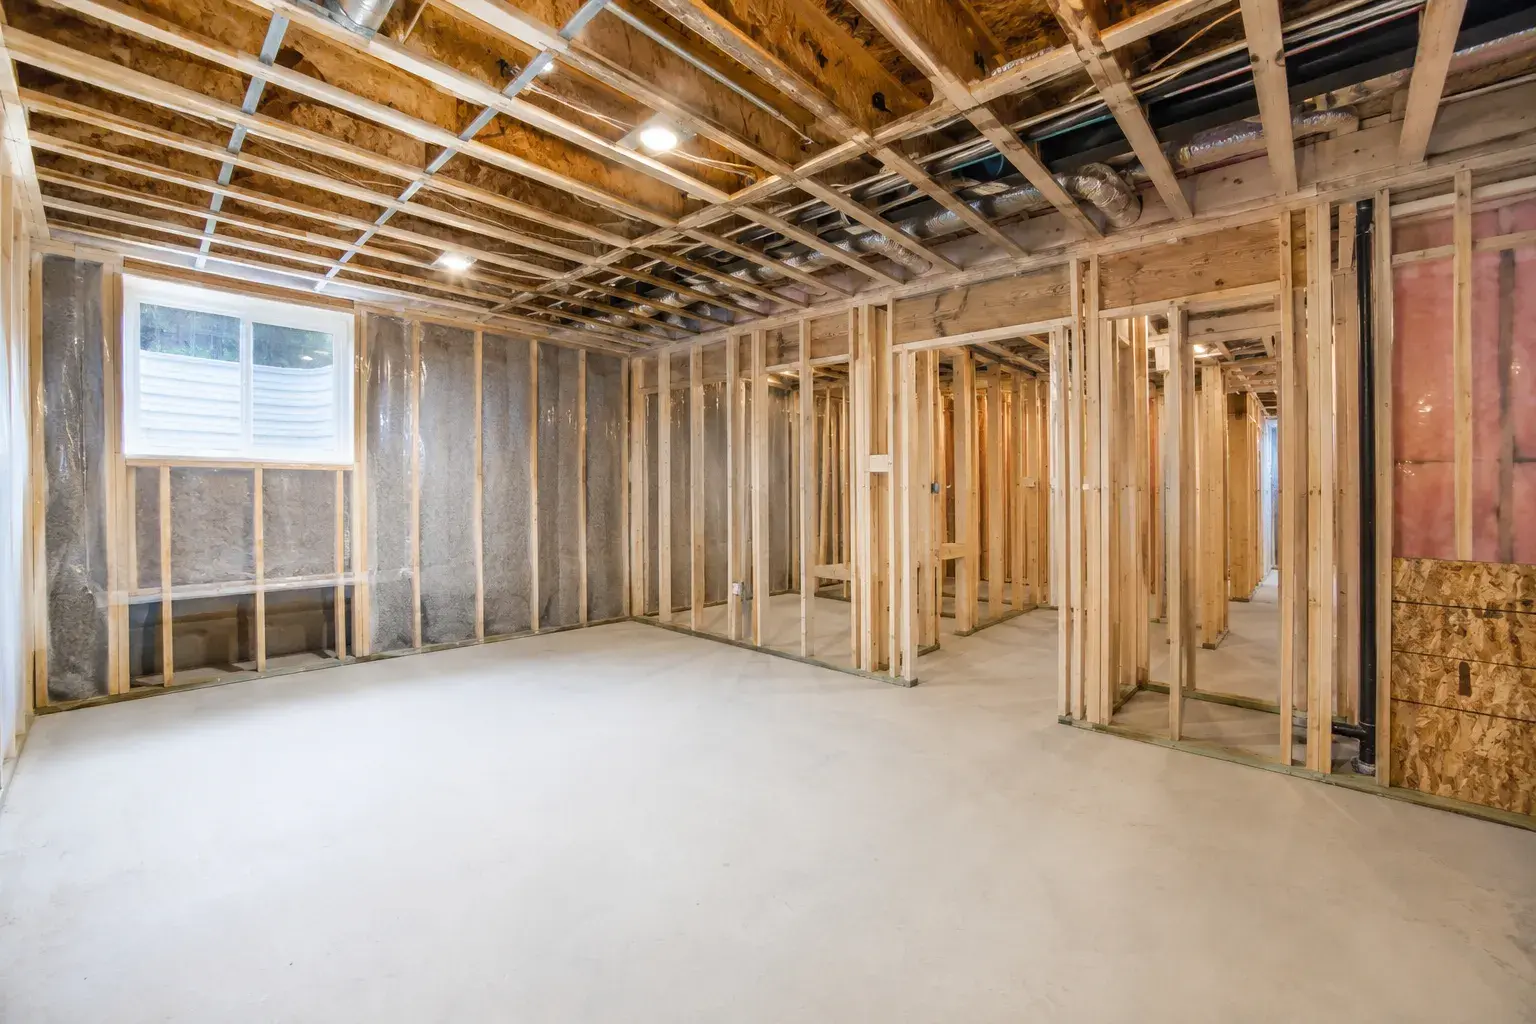
A wall can be built to perfect layout and still finish crooked if it is not squared before sheathing and plumbed after standing.
- Square the wall flat on the deck. Measure the two diagonals; when they are equal, the wall is square. Sheathe it or install a temporary brace at that point to lock the square in before you lift.
- Plumb it once standing. Use a level on a straightedge, or a plumb line, at each end. Push the wall until the studs read plumb, then nail temporary braces from the top plate down to blocks on the floor.
- String the top plate straight. Run a taut line the length of the wall a fraction off the plate and check the gap at each stud. Adjust braces until the plate is dead straight, not just plumb at the ends.
- Crown the studs the same way. Every stud has a slight bow; sighting and installing all crowns in one direction keeps the wall plane flat for drywall.
Square, plumb, and straight are three separate checks. A wall that passes all three is what lets finishers, cabinet installers, and trim carpenters work fast and clean.
Common Layout Mistakes
The failures we see most on other crews’ work all trace back to the layout and standing stages:
- Losing the layout line. Pulling the tape from a different end mid-wall, or measuring stud-to-stud instead of on center, pushes sheet edges off the studs.
- Forgetting the 15-1/4 inch first mark. Measuring the first stud at a full 16 inch throws every sheet edge off by the thickness of the stud.
- Missing corner and partition backing. Standing walls before channels and nailers are in means cutting them in overhead later.
- Undersized or missing headers. Skipping a header on a bearing wall, or under-sizing one, is a structural defect, not a finish issue.
- Wrong bottom plate on concrete. Framing must sit on a pressure-treated sill on slab or foundation to meet the OBC moisture-separation requirement.
- Standing walls out of plumb and leaving them. Braces exist to hold the wall true until it is permanently tied off; skipping the string line leaves waves in the finished wall.
Frequently Asked Questions
Is 16 inch or 24 inch stud spacing better? Neither is universally better; it depends on the load, stud size, and wall height. 16 inch o.c. is the default for most GTA load-bearing and interior walls because it is strong and gives solid finish backing. 24 inch o.c. is common on 2x6 exterior walls for more insulation, as long as the OBC span and load tables allow it.
Why is the first stud marked at 15-1/4 inch instead of 16? So the sheet edge lands on the center of a stud. Subtracting half the stud thickness (3/4 inch off 16 inch) at the start means the leading edge of every stud falls on the 16 inch line and 4-foot sheets break on stud centers all the way down the wall.
Do I need a permit to frame a new interior wall? In most Ontario municipalities, adding a non-load-bearing partition can require a building permit, and any work affecting a load-bearing wall almost always does, along with engineering. Rules vary by municipality across the GTA and Golden Horseshoe, so confirm with your local building department or ask us before you start.
How do I know if a wall is load-bearing? Look for a doubled top plate, a wall that lines up over a beam or an upper-floor wall, or joists bearing on it. None of these is conclusive on its own. When it matters, we confirm the load path and, where required, bring in an engineer rather than guess.
Talk to a Framing Crew That Gets the Details Right
Clean layout, correct spacing, properly sized headers, solid corners, and walls that stand plumb and straight are what separate framing that finishes fast from framing that fights you at every trade after. Timberr is a licensed, insured, WSIB-covered framing contractor building to the Ontario Building Code across the GTA and Golden Horseshoe, and it is worth understanding how these wood-frame fundamentals compare to steel before you plan a job, see our metal stud vs wood framing breakdown. Ready to frame walls that are right the first time? Get in touch for a quote.