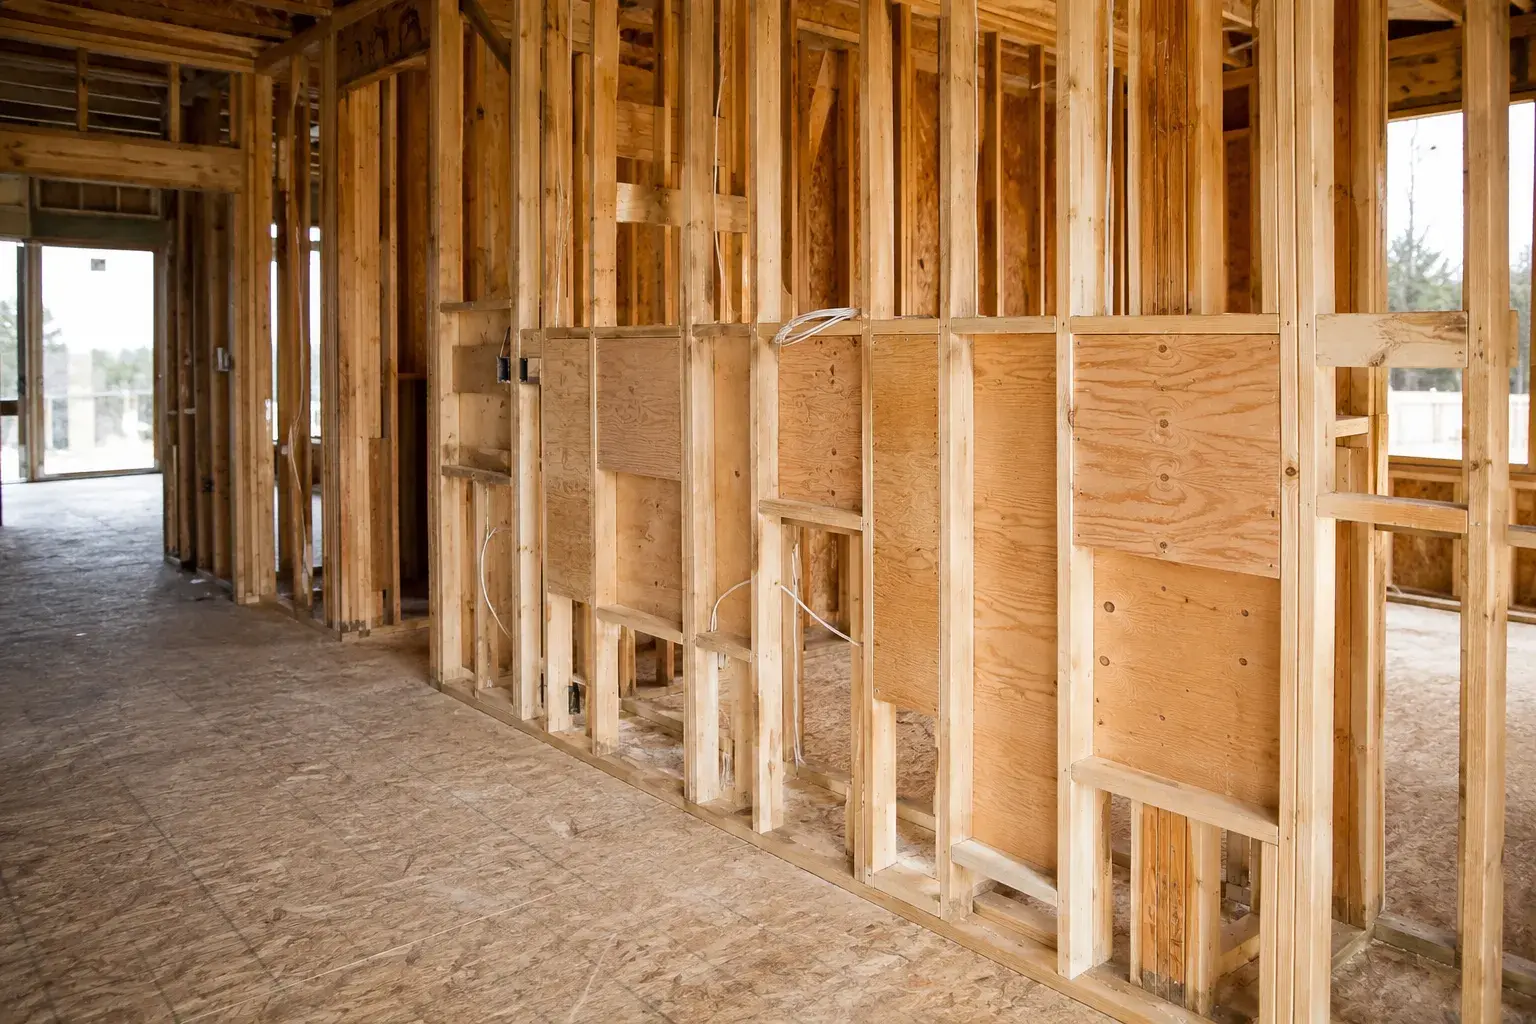
Framing Window and Door Rough Openings to Code
How framers size and build window and door rough openings: headers, jack and king studs, sill plates, rough opening allowances, and getting square, plumb, level openings.
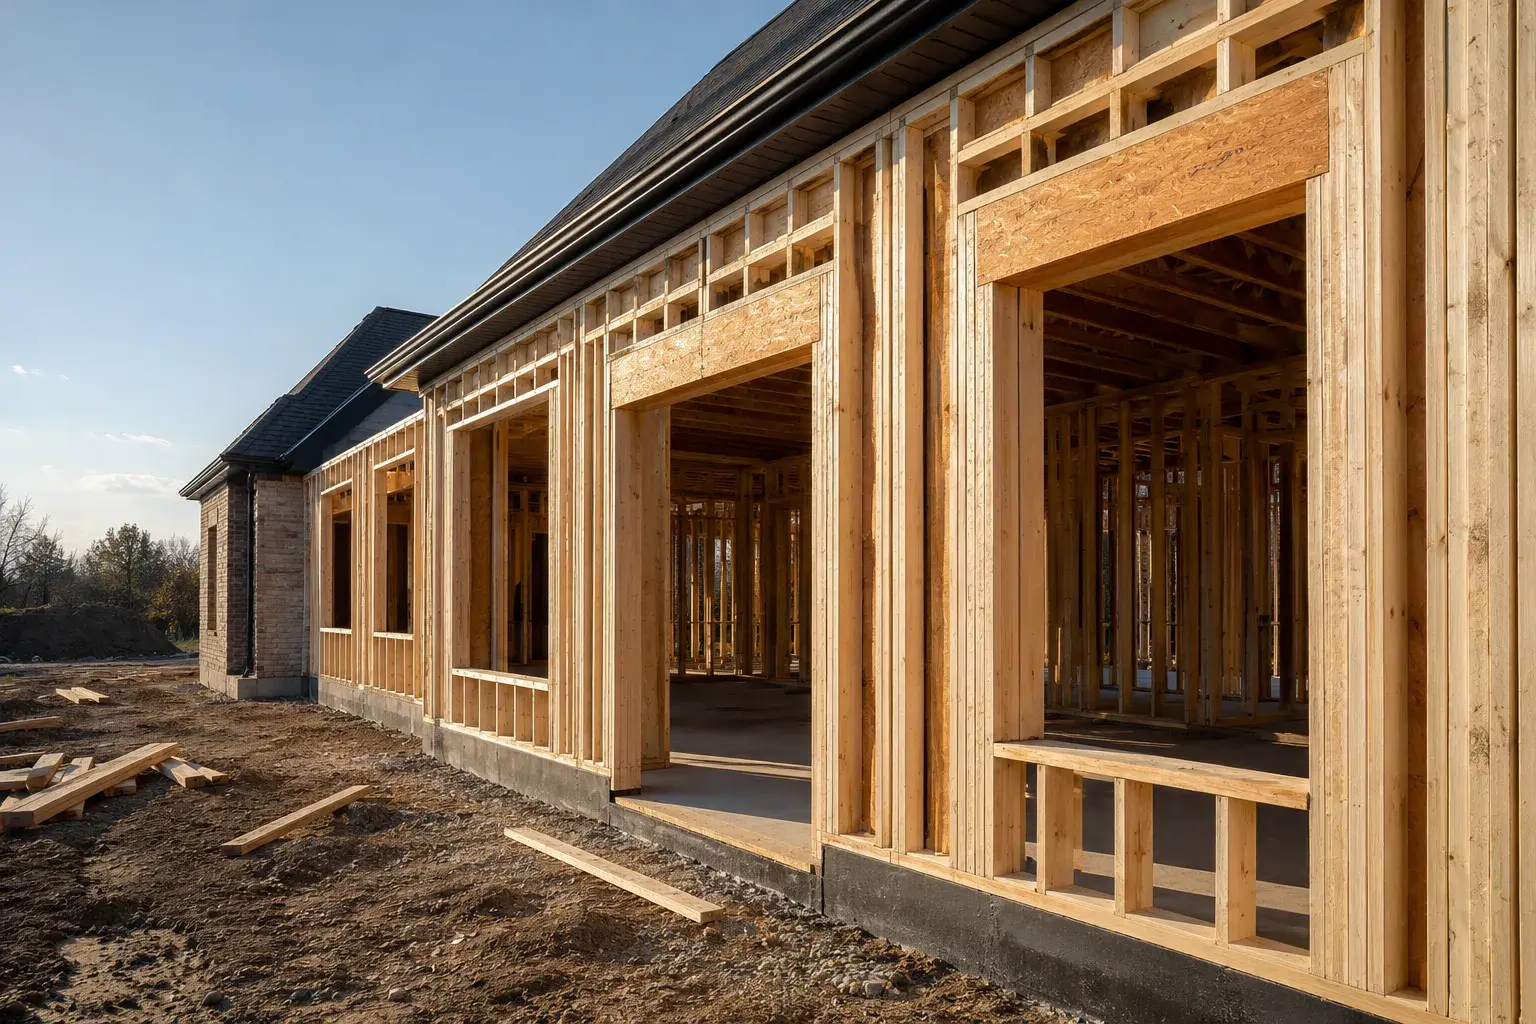
A rough opening is the framed hole a window or door drops into, built slightly larger than the unit itself so it can be shimmed square, plumb, and level. Framers size it by taking the manufacturer’s rough opening dimension and confirming the shim allowance, then build the opening with a header carrying the load, jack studs supporting that header, king studs tying it into the wall, cripples above (and below on windows), and a rough sill for windows. Get the size and the load path right and everything downstream, from flashing to trim, goes on clean.
At Timberr Framing we frame these every week across the GTA and Golden Horseshoe as a licensed, insured, WSIB-covered framing contractor, and openings are where sloppy framing shows up fastest. Here is how they are actually built to the Ontario Building Code.
What a rough opening is and how to size it
The rough opening (RO) is the space bounded by the header on top, the jack studs on each side, and the rough sill on the bottom for windows or the subfloor for doors. It is not the size of the window or door. It is deliberately oversized so there is room to level and plumb the unit.
The correct RO always comes from the manufacturer’s specification sheet for the exact unit you are installing. Do not guess from the glass size or the nominal call size. A “2030” window is not 24 by 36 inches of rough opening.
The standard rule of thumb, which you still confirm against the spec sheet:
- Windows: RO is typically the unit dimension plus about 1/2 inch to 3/4 inch in both width and height. That gap gives you roughly 1/4 inch to 3/8 inch of shim space per side.
- Exterior doors: RO is usually the door slab plus frame, generally about 2 inches wider and 2 to 2.5 inches taller than the slab, but always take it off the pre-hung unit’s spec.
- Interior pre-hung doors: RO is commonly slab width plus 2 inches for width, and slab height plus roughly 2.5 inches for height, to allow for the jamb, the finished floor, and shimming.
The shim allowance is the point of the extra space. Too tight and you cannot square a unit that arrives slightly out of true or sits in a wall that is not dead plumb. Too loose and you run out of fastener bite and blow past the flashing details. When in doubt, follow the window manufacturer’s number to the sixteenth.
The parts of a framed opening
Every opening is a small assembly with a job for each piece:
- Header: the horizontal beam over the opening that carries the load from above and transfers it down to the jack studs.
- Jack studs (trimmer studs): run from the bottom plate up to the underside of the header and directly support it. Wider or heavily loaded openings need two or more jacks per side.
- King studs: full-height studs that run from bottom plate to top plate on the outside of each jack, nailed to the jacks to stop the opening from racking and to tie the assembly into the wall.
- Cripple studs: short studs above the header (and below the rough sill on windows) that maintain regular stud spacing and carry load down to the plates.
- Rough sill: the horizontal member at the bottom of a window opening that the unit sits on. Doubling the sill on wider windows keeps it from deflecting.
Nail it all off properly. A header floating on under-nailed jacks is the most common structural shortcut we find when we open up someone else’s work during renovation framing.
Header sizing by span and load
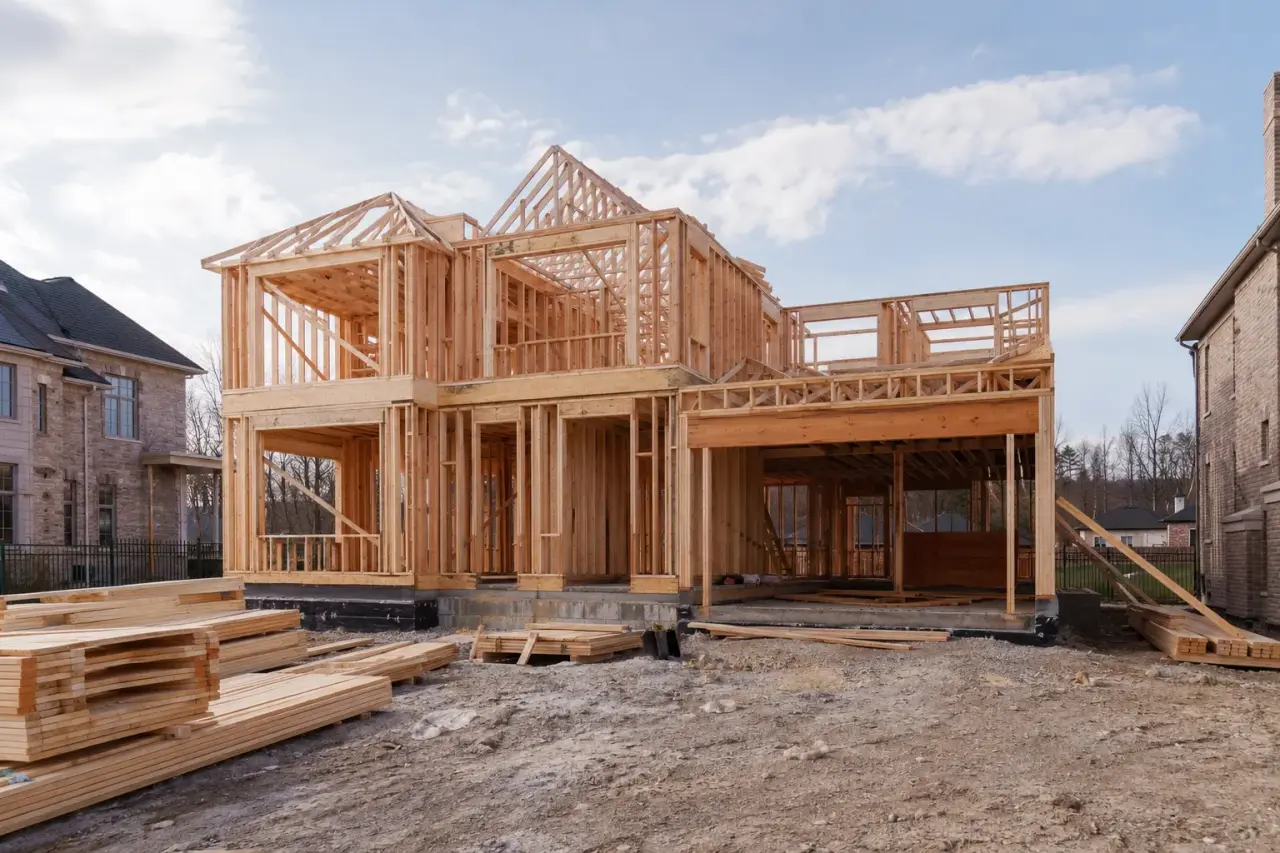
The header does the structural work. Its depth is driven by the clear span of the opening and how much load sits above it, whether that is just a roof, or a roof plus one or more floors. Bigger span or more floors above means a deeper header and often more jack studs under each end.
The table below gives typical built-up dimensional lumber headers (two ply, SPF No. 1/No. 2) for supporting loads. Treat it as a starting reference only. The Ontario Building Code header span tables and, for anything unusual, an engineer’s stamp govern the final size.
| Clear span of opening | Roof + ceiling only | Roof + ceiling + 1 floor |
|---|---|---|
| Up to 3 ft (0.9 m) | 2-ply 2x6 | 2-ply 2x8 |
| Up to 4 ft (1.2 m) | 2-ply 2x8 | 2-ply 2x10 |
| Up to 5 ft (1.5 m) | 2-ply 2x10 | 2-ply 2x10 |
| Up to 6 ft (1.8 m) | 2-ply 2x10 | 2-ply 2x12 |
| Up to 8 ft (2.4 m) | 2-ply 2x12 | 3-ply 2x12 or LVL |
| Over 8 ft (2.4 m) | Engineered (LVL/PSL) | Engineered (LVL/PSL) |
Notes that matter:
- Spans, tributary widths, snow loads, and species all change these numbers. Snow load in the Golden Horseshoe is not the same as northern Ontario, and that feeds directly into header depth.
- Number of jack studs per end scales with the reaction: wider openings and multi-storey loads commonly need two jacks each side.
- For long spans, walk-out openings, or anything carrying a point load, use LVL, PSL, or a steel beam sized by an engineer. Do not improvise a built-up header past what the code tables allow.
If you are cutting a new opening into an existing structure rather than framing new, the header and support design is really a load-bearing wall removal problem, and it deserves the same rigour.
Keeping openings square, plumb, and level
A perfectly sized RO is worthless if it is out of square. Windows and doors are manufactured square, so the opening has to match.
- Set the rough sill dead level first. Everything references off it.
- Plumb both jack studs with a good level, and check that they are parallel to each other, not just individually plumb.
- Measure both diagonals. Equal diagonals means the opening is square. If they differ, adjust before the sheathing locks it in.
- Confirm the opening is not wind (twisted), where one corner sits proud of the other three. Sight across it or use a string.
- Keep the header flat and tight to the jacks so it does not sag into the opening over time.
We check square before sheathing goes on, because once the exterior sheathing is nailed the opening is fixed. Fixing a racked opening after the fact means pulling siding and sheathing, which is exactly the kind of rework that eats a schedule on a home addition framing job.
Load paths above openings
The whole reason a header exists is to reroute load around the hole. Above the opening, weight from the roof, upper walls, and any floors bears down on the cripple studs and top plate. The header collects that load across the span and delivers it to the jack studs at each end. The jacks carry it straight down to the bottom plate, which spreads it to the floor system and then to the foundation.
Break any link in that chain and you get problems: doors that bind, drywall cracks at the upper corners of the opening, and a sagging header. That is why jack studs must land over solid bearing below, why you do not notch or drill a header, and why point loads from a girder or a post above have to line up with proper support all the way down. Openings stacked over openings on multiple storeys need the loads deliberately tracked floor to floor.
Common mistakes we see

- Using the window call size as the rough opening. Always pull the RO off the manufacturer’s sheet.
- Too little shim space. No room to square the unit in a wall that is slightly out of plumb.
- Too much shim space. You lose fastener bite and cannot make the flashing details work.
- Undersized header or too few jacks. The single most common structural error, and it sags over time.
- Skipping the double rough sill on wide windows, leaving the sill to deflect under the unit.
- Not checking diagonals, so the opening is out of square and the unit will never operate right.
- Ignoring the load path, with jacks that do not bear on anything solid below.
Every one of these is caught by an inspector when the framing is done right, which is another reason to understand framing permits and inspections before you cut a single opening.
Frequently Asked Questions
How much bigger should a rough opening be than the window? Typically about 1/2 inch to 3/4 inch larger than the window unit in both width and height, which leaves roughly 1/4 inch to 3/8 inch of shim space per side. Always confirm against the manufacturer’s rough opening spec for your exact unit, since it varies by product.
Do I always need a header over a door or window? Over any opening in a load-bearing wall, yes. In a non load-bearing interior partition a full structural header is not required, but you still frame the opening properly with jacks, king studs, and a top piece to hang the door and hold spacing. When in doubt, treat the wall as load-bearing until you confirm otherwise.
What size header do I need for a 6 foot opening? For a roof and ceiling load a 2-ply 2x10 is a common starting point, and with a floor above it often goes to a 2-ply 2x12. The real answer depends on span, snow load, and everything sitting above, so it must be confirmed against the Ontario Building Code span tables or sized by an engineer for larger or unusual loads.
Why does my new door bind or not close? Almost always the opening is out of plumb, out of square, or the header sagged. A door installed in a racked opening will never operate cleanly. The fix is squaring and plumbing the rough opening before the unit ever goes in, which is why we check diagonals and level the sill first.
Rough openings look simple, but the sizing, header, and load path have to be right or every finish after them fights you. If you are planning windows, doors, an addition, or a reno anywhere in the GTA or Golden Horseshoe, talk to a licensed, insured, WSIB-covered framing contractor who frames openings to the Ontario Building Code the first time. Reach out through our contact page and we will help you get it built right.